Getting Started with IBM Watson Analytics
Getting started with IBM Watson Analytics is easy and takes only minutes.
Step 1 - Create Your IBMid
IBM Watson Analytics works in the cloud which needs to be accessed via your browser and in order to use Watson Analytics you need to sign-in using your IBMid. If you already have a valid IBMid login credentials, please move to step 2. If you do not have a valid IBMid login credentials, please follow along
- Go to IBMid registration page
- Fill your details and register
- Validate your IBMid via e-mail
Congratulation! You now have an IBMid which is a universal ID and can be used to access IBM applications, services, communities, support, on-line purchasing, and more including IBM Watson Analytics.
Step 2 - Register for IBM Watson Analytics Trial
When you first register, IBM Watson Analytics comes with a 30 days trial period. To register for trial of IBM Watson Analytics, please follow along
- Go to IBM Watson Analytics
- Click on Try it for free and choose Try free edition (alternatively you can directly choose to buy a paid version)
- This will take you to sign-up/sign-in page
- Since you already have registered, select sign-in and login using your IBMid
sign-up/sign-in screen
sign-in screen
- Go to My IBM where you will be able to see all products and services of IBM to which you have access to
- You will be able to see IBM Watson Analytics Professional Single User 30 Day Trial or something similar depending upon the kind of license that you have purchased, click LAUNCH button in front of this service
My IBM Screen
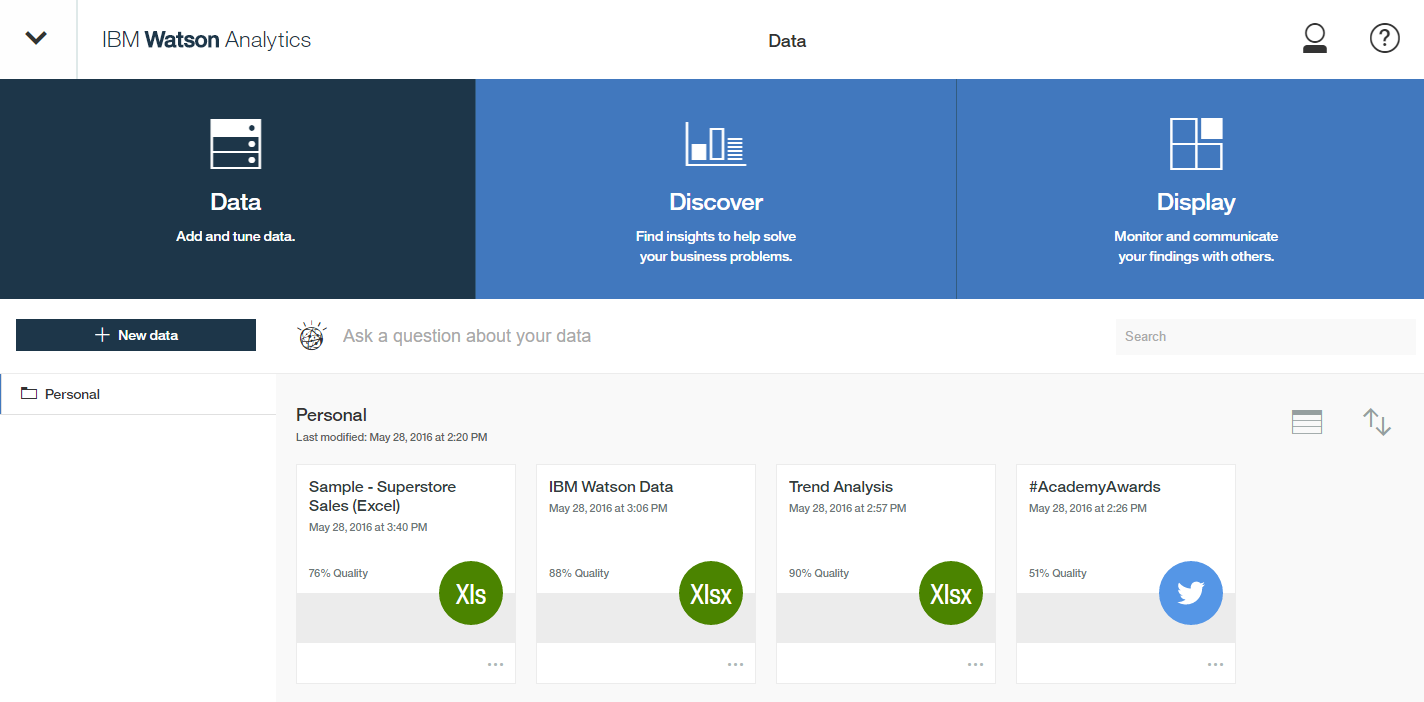
Awesome! This will take you to IBM Watson Analytics home screen where you can upload your data and start asking and answering questions on your data.
IBM Watson Analytics Home Screen. I call it DDD Screen (Data-Discover-Display). I would have loved to call it D3 however, since there already exists a product named D3, so let's call it DDD Screen.
Now you can upload your data and get started with your analysis. In my next post, I will explain what kind of data sources can be connected with IBM Watson Analytics and how to connect them. Stay tuned!
This post is part of IBM Watson Analytics Guide. Click below and start learning now


